
After choosing the best contractor for your roof replacement, you may be wondering how long the process will take and whether you do anything to expedite the repairs. Fortunately, you can do a lot to help your project go smoothly, if you first know what to expect.
The roof replacement process may seem overwhelming, but regardless of the length of the project, your contractor should be able to explain each step of the process. If you’re in doubt, check with your repair provider about the expected timeline, allowing you to prepare your home and family, take necessary precautions, and expedite the process wherever possible. Follow our checklist for action items to speed up the process!
Preparations
Before the project begins, you can prepare for your roof repair or replacement with these helpful action items:
- Move vehicles out of the driveway before work begins
- Safely store all toys, furniture, and yard tools
- Move or protect garden structures such as statues, lights, pots, fountains, or feeders.
- Use orange tape to mark valuable plants or place a tarp over them on work days – Speak with your contractor to identify these areas
- Mow the lawn to make debris easier to pick up
- Clear nearby electrical outlets
- Speak with your neighbors to prepare them for the repair process
- Secure windows in the house and garage
- Clear the attic and lay down tarps
- Secure valuable wall-hanging items or china
- Remove any roof accessories (Enlist appropriate help here!)
In addition to preparing your property and belongings, consider your family and pets as well. Talk to your kids about the possibility of dangerous debris and make sure they’re careful around the yard until work is completed. Try to complete these preparations a few days before the inspection.
Initial Roof Inspection
Your contractor will examine the damage or wear and tear on your roof, review your warranty information, and assess your situation, including the size and layout of the project.
Your contractor will also make sure the roofing team can access the roof and the outlets they need.
Material Delivery
Once the project is planned, the materials will be delivered to your home before the repairs begin. Weather permitting, contractors usually try to have materials delivered a few days before the start of the repairs.
The materials should be placed on a paved surface with access to the damaged roof. Speak with your contractor if you’re concerned about damage to your lawn or property.
Property Precautions
Once the materials have arrived, the roofers will secure your property to protect key structures from damage. This can include lining tarps along the roof line, covering AC units and pools, moving furniture off the patios, and making sure vehicles are safe. Ideally, you will have prepped your patio and garden areas, and placed vehicles in a safe and accessible area.
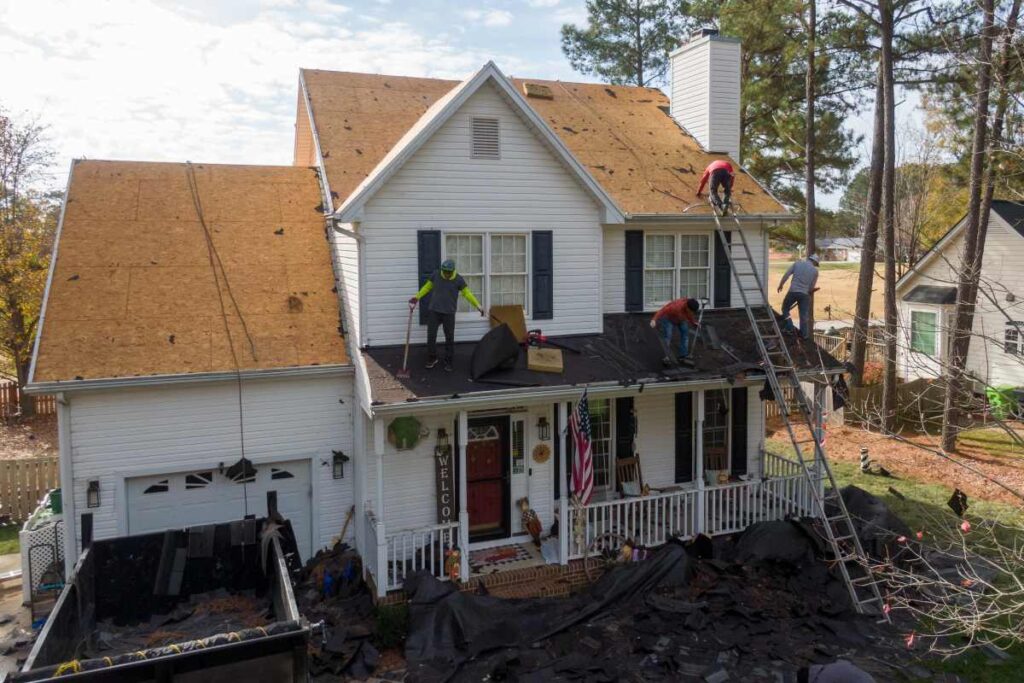
Material Removal
Once preparations are complete and your property is secure, the roofers will begin removing the damaged roof material. The sections that need to be replaced will be torn off in pieces, starting from the far side. Some workers will remain on the ground to move the debris into the contractor’s dump trailer.
Once the roof has been removed and the yard is clean, the roofers will clean your gutters before proceeding with the repairs.
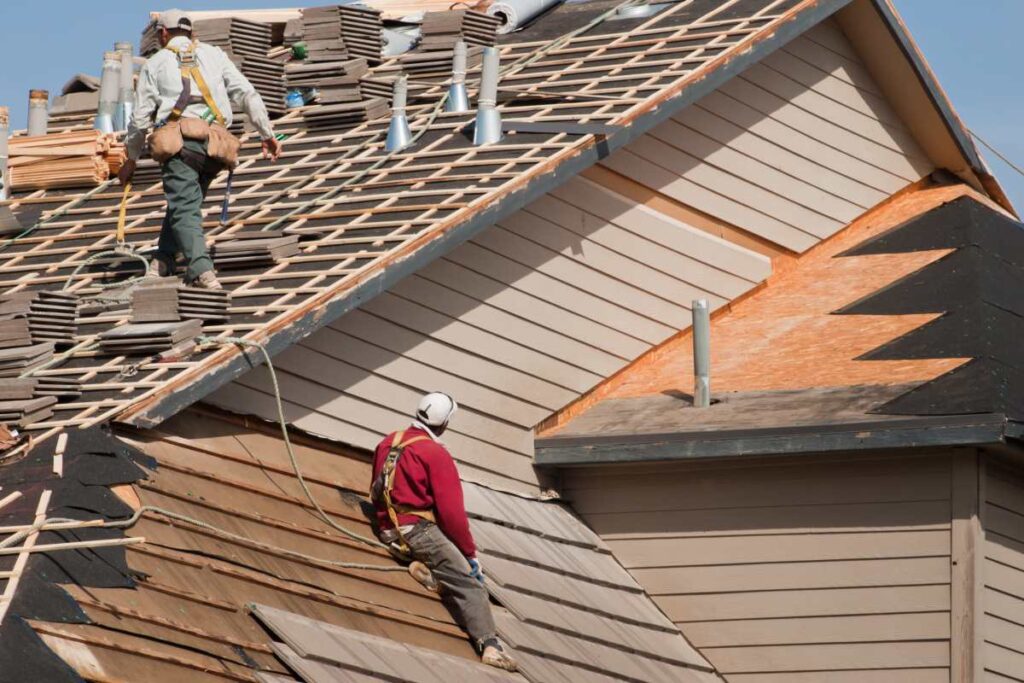
Material Replacement
Before replacing the damaged roof material, your contractor will examine the underlying structures to determine if the boards or decking below the roof shows signs of rot or damage. If they find damage, that will need to be replaced before the new roofing material can be installed. This step often prolongs the repair process, so homeowners should be prepared for delays.
If you suspect existing water damage, advise your contractor in advance of the project. This will allow them to make preparations and order materials as needed, reducing delay on your project.
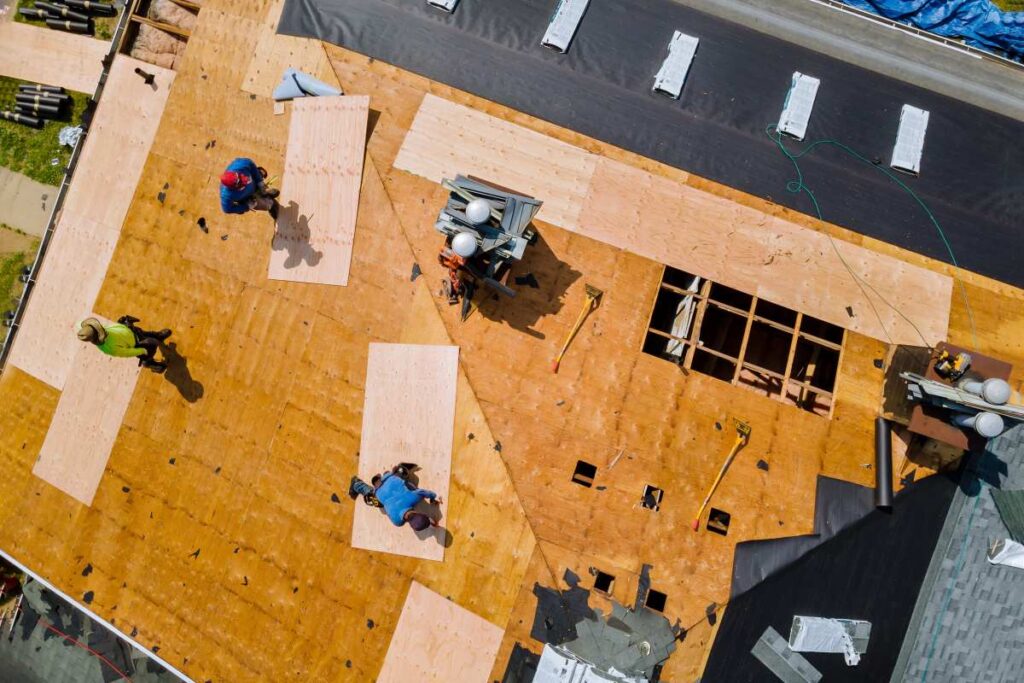
Roof Replacement Installations
Once damaged boards and decking have been replaced, new roofing materials can be installed, beginning with new drip edges and roof flashing. After that, underlayment can be installed on the sections that need to be replaced before shingling begins.
After the shingles are in place, ridge capping and roof vents will be installed. At this stage, homeowners tend think this is the end of the roof repair or replacement process, but there are a few remaining steps.
Clean-Up
After the repair or replacement is complete, the roofers will blow out your gutters and downspouts, remove the dump tarps, and clean roofing nails and other debris from the ground. Even if the roofers are thorough, a rogue nail can always be left behind; make sure you and your family wear shoes in the yard even after the project is complete.
Final Inspection
Once everything has been removed, the roofing contractor will do a full walkthrough and inspection to make sure everything is finished. They will inspect known leaks, check the yard for debris, and answer any final questions you have.
Now, you will receive warranty as well as contact information in case you have any issues. At this time you will also make any final payments to your contractor.
Contact an Experienced Contractor to Learn More About Your Roof Replacement Process
The roofing process requires several necessary steps and possible unexpected steps, but an experienced contractor will guide you and answer any questions you may have. At Expert Exteriors, our clients’ satisfaction is our priority. We keep clients informed of the project timeline and walk them through the process at every step.
Contact our team of experts today to learn how we can restore your roof and protect your home.
Schedule Estimate
"*" indicates required fields